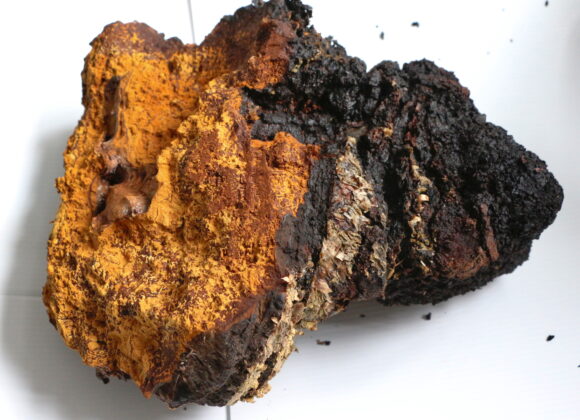
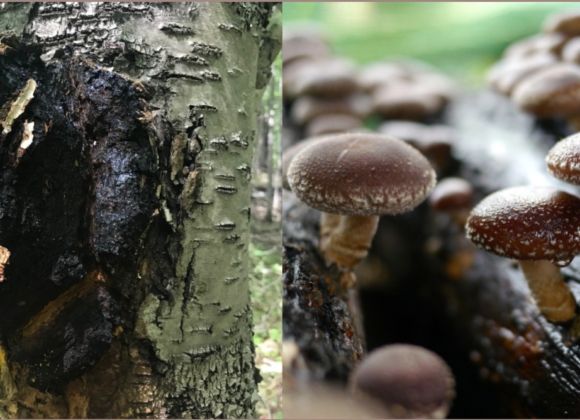
“The king of mushrooms”, otherwise known as Chaga is not your average mushroom. Unlike many other fungi, Chaga starts growing from the inside of a tree, instead of developing on the surface. As it grows and matures, it protrudes from the tree. You’ll be able to recognize Chaga by its dark, almost black exterior. Looking like something has burnt on the tree. From the inside, it’s a rich orange-brown color with a corky texture. The healthy compounds found in the mushroom are not bioavailable for the human body in their raw form, so what does preparing Chaga involve? We have compressed the information into 5 simple steps.
5 STEPS OF PREPARING CHAGA
Preparing Chaga step #1: Harvesting
In order for the Chaga mushroom to support and heal your body, it needs to be harvested from a healthy forest, and a living birch tree, preferably around springtime.
Once you’ve cut off your piece of Chaga. Make sure to only leave the solid parts of the fungus – the outer and middle parts. Clean the fungus from birch bark and other dirt found on the outer layer. We suggest you right then and there, next to the tree, cut up the gathered fresh Chaga into small pieces (chunks). Wrap them up in a clean cloth, or store the pieces in a clean bag until you leave the forest.
Preparing Chaga step #2: Drying
The process of drying Chaga isn’t complicated, simply make sure not to let the temperature exceed 50 degrees Celsius. Feel free to use a dehydrator or dry them in an oven by keeping the oven door somewhat open for airflow, perhaps you’ll even find a dry, warm, well-ventilated spot in the house to leave the Chaga to dry safely. The drying process generally takes a few days, up to weeks if dried in the sun.
A tip from us is to start the drying process right after leaving. Set your car AC on warm, and set the chunks out to dry before you reach home.
chagamushroom.co.uk team
Make sure your environment is optimal for drying. The longer the process, the higher the risk of your Chaga growing mould. To learn more about the topic, check out our article “How to dry Chaga and stay clear from mould?”.
Preparing Chaga step #3: Storage
A large part of Chaga’s longevity depends on how it is stored. The fungus is best to be kept in an airtight container in a cool, dry place. Exposure to sun, air, humidity, and other contaminants, unfortunately, affect the quality of your Chaga.
In addition to that, some insects are attracted to Chaga, so you want to keep it away from their reach. If you want to store Chaga for the long haul, consider vacuum-sealing it.
Another way to prolong the life of your Chaga is by freezing it. The freezer will insulate it against sun, heat, insects, and other contaminants. However, there is debate in the Chaga community over this issue, some people claiming that long-term freezing harms its nutritional value.
Stored properly, Chaga has a shelf life of one to two years.
Preparing Chaga step #4: Extraction and consumption
Locked inside the chitin cell walls of Chaga are all the healthy bioactive ingredients, such as the beta-glucans. Chitin is the hardest all-natural material known to humankind, therefore indigestible without the right preparation.
This means one of the two following extraction processes is required to release these bioactive ingredients for human consumption.
1. Hot water extraction│Chaga tea
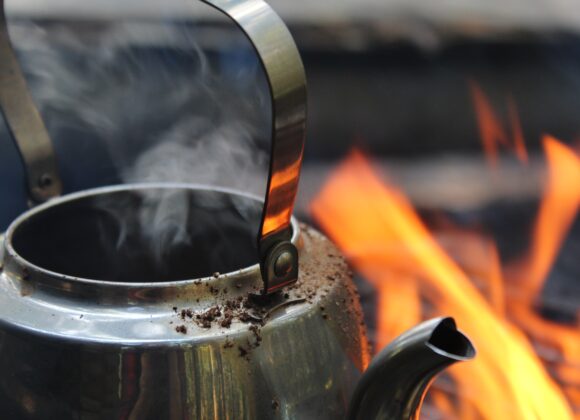
Hot water extraction is the most common, easiest, and cheapest method to prepare Chaga. Just like the traditional tea-making process, Chaga chunks or powder are steeped in hot water for a period of time, strained, and then drunk as tea.
When using this method, all the water-soluble components, such as the polyphenols and beta-glucans, will be present in the resulting extract. However, water-insoluble components, such as phytosterols, and betulinic acid will be missing. If somebody’s debating you on the taste of Chaga, keep in mind that a long brew tea from the nuggets tends to taste sweeter. We recommend you not to boil your Chaga, to learn more head over to “Does boiling Chaga ruin in?”.
2. Double Extraction│Chaga Tincture
Like with all tinctures, alcohol is used as the soaking agent for Chaga infusion. The mushroom is combined with alcohol and soaked for a set period of time, quite often months. Once it’s ready, the Chaga is removed, leaving a concentrated extract.
Generally, there is no heating or cooking involved. However, with fungi like Chaga, heating releases more nutrients and benefits. Recipes that include heating the Chaga are considered stronger, more potent options. Heating expands the cell walls of the fungi, allowing for more nutrients to become bioavailable and create a stronger healing potion.
A Chaga tincture, otherwise known as an extract, is the most concentrated way to consume Chaga. It is best used at the onset of colds, during seasonal swings, or to combat recurring immune-system issues.
If you’re interested in finding out more about what’s involved in double extraction and the recipe, head over to our article “Extract 101”.
Preparing Chaga step #5: Reuse
Chaga chunks or nuggets can be reused around five to six times. Make sure you avoid letting the water come to a boil while the fungus is in it, in order to keep its medicinal value. To reuse your Chaga strain out the Chaga chunks from a batch of tea and leave the nuggets on the side to dry. Once they’re all dried up, store the pieces in a cool, dry, and dark place like a refrigerator.
If you’re keen to try out your first batch of Chaga tea, take inspiration from this video by Wilderstead
